Dësen Artikel beschréift déi néideg Etappen bei der Hierstellung vun enger Lët’z Clock.
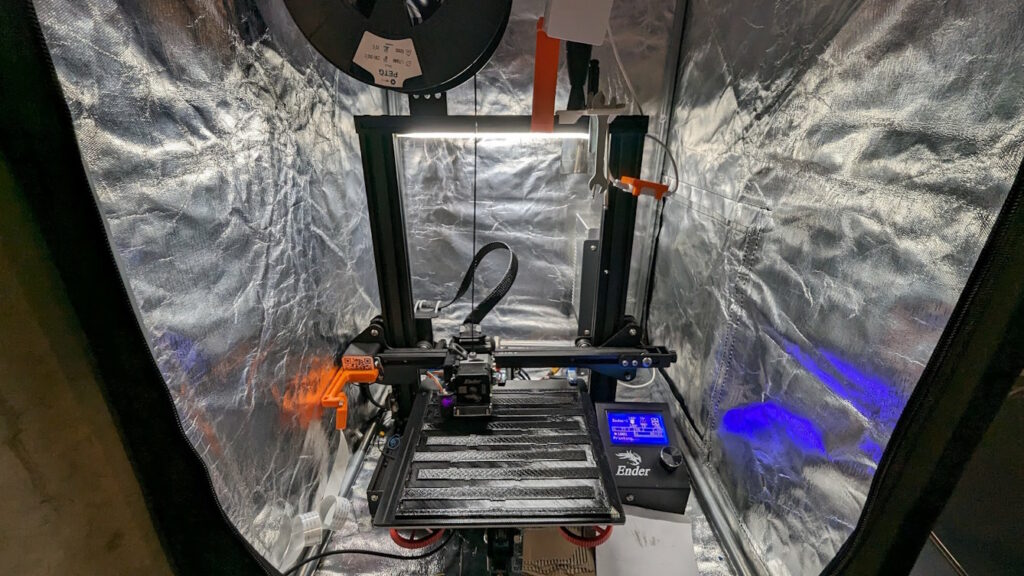
Gehais printen a virbereeden
Gehais vun der Lêt’z Clock besteht aus folgenden Deeler:
- Front – Printzäit ~11 Stonnen
- LED Grid – Printzäit ~12 Stonnen
- LED Plack – Printzäit ~8 Stonnen
- Récksäit Printzäit ~10 Stonnen
- Cover fir Récksäit Printzäit ~1 Stonn
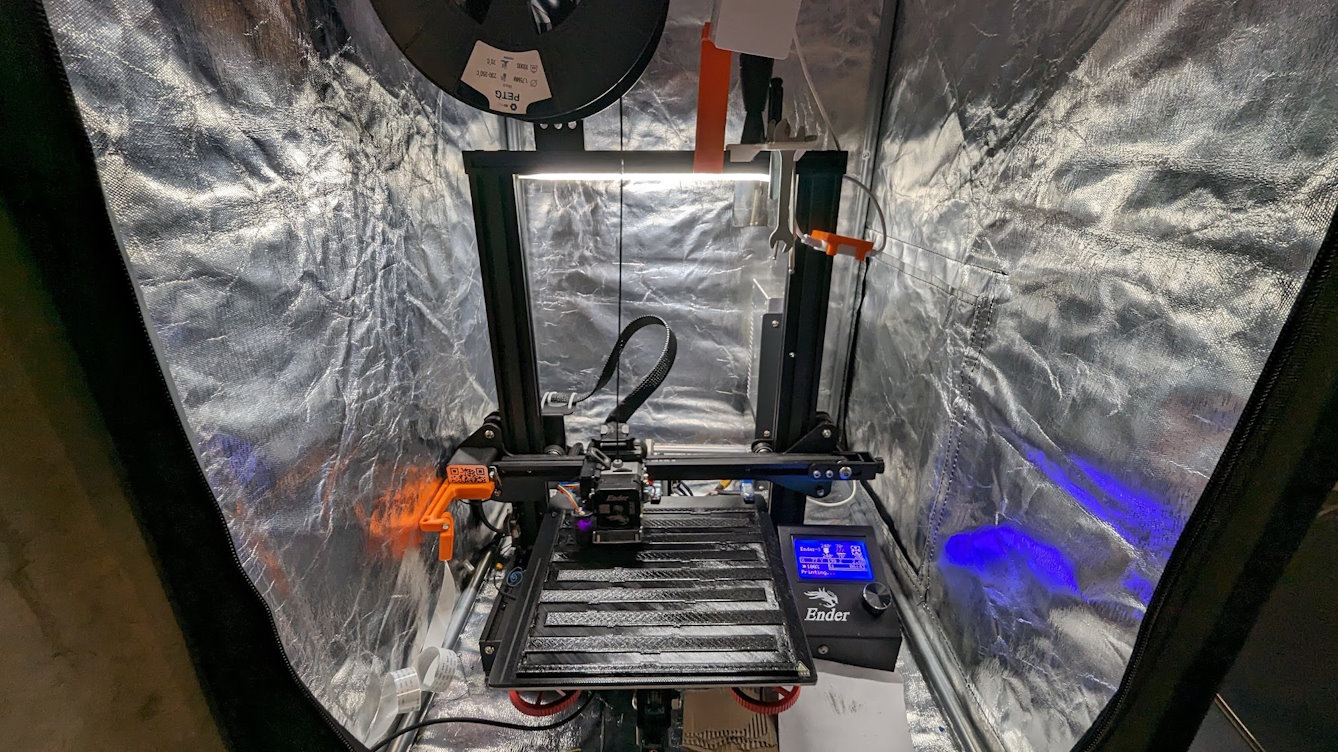
Et ass recommandéiert alles mat schwaarzen PLA/PETG ze printen, fir dass LED Luuchten net duerch Wänn schéngen.
Duerno kritt Gehais nach eng Couche Faarf (z bsp Wäiss).
Dëst ass net méi néideg, d’Gehäis gëtt direkt an der Finaler Faarf geprint. Fir méi Hell Faarwen wéi z bsp. wäiss gëtt nach eng kleng Schwaarz Folie vun 0.4mm zwëschen d’Gehäis an den Diffuser geluecht, fir dass d’Luucht net duerch schéngt.
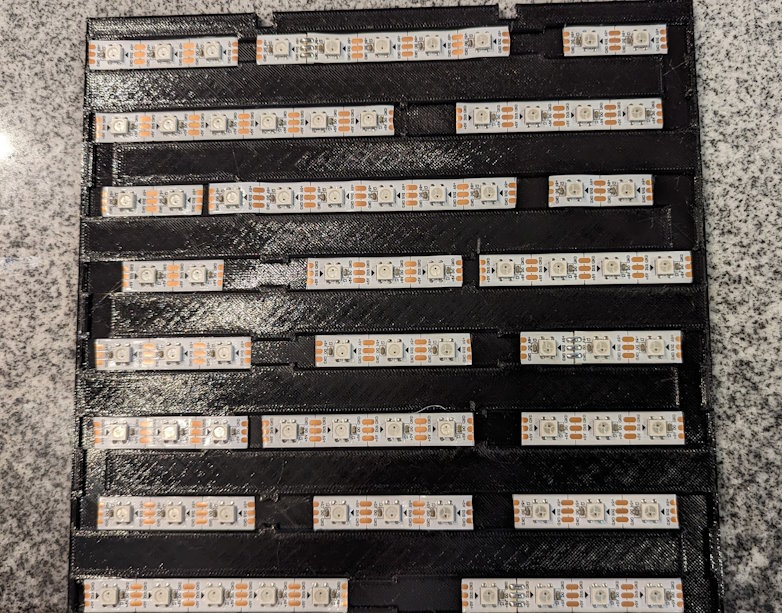
LED firbereeden
Et gëtt ee Minimum vun 76 LED gebraucht. Dës ginn an engem Zick Zack Muster op LED Plack gepecht, an dann mat klengen Kabelen verléit.
LED léiden a testen
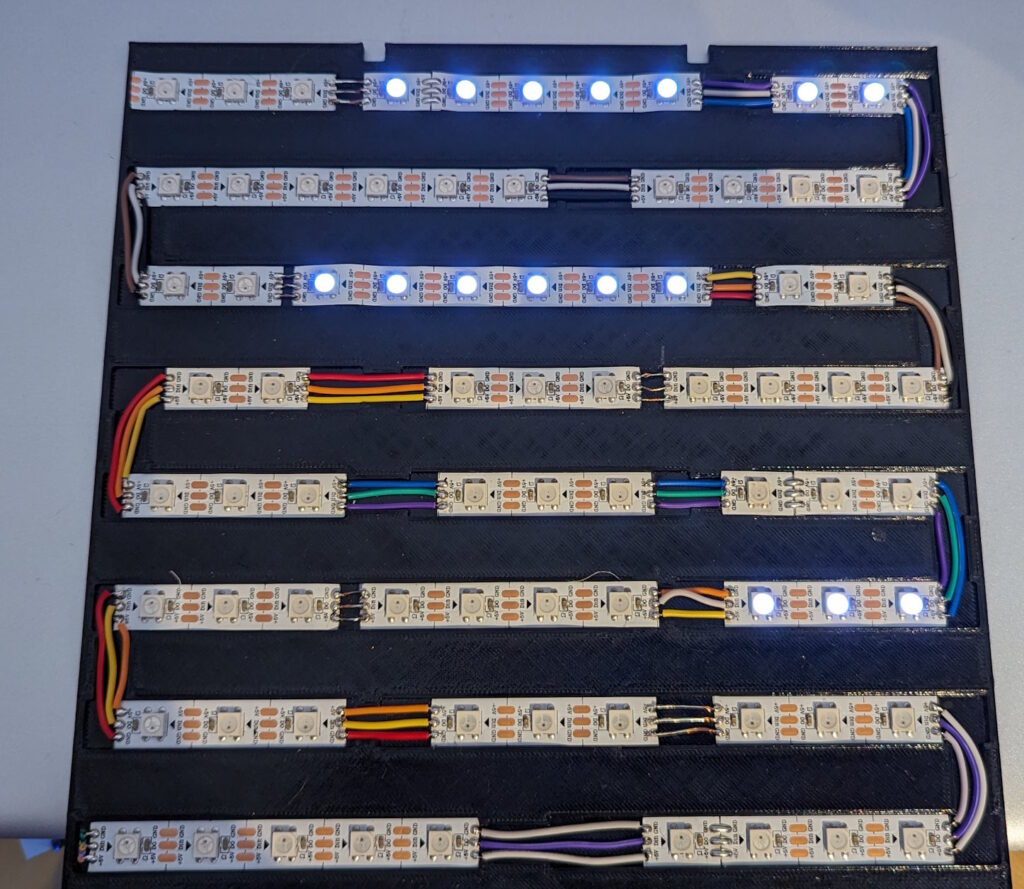
De Programm am Mikrokontroller test all LED beim uschalten.
Live Test Video :
Firmware kompiléieren
D’Unzuel vun verbauten LED muss am Programm Code définéiert sinn, an och wéieng LED Nummer Deel vun wéiengem text Bausteen ( ZENG, ZWIELEF etc..) ass.
Firmware baséiert op ESPHome a kann bequem iwwert e Browser kompiléiert ginn.
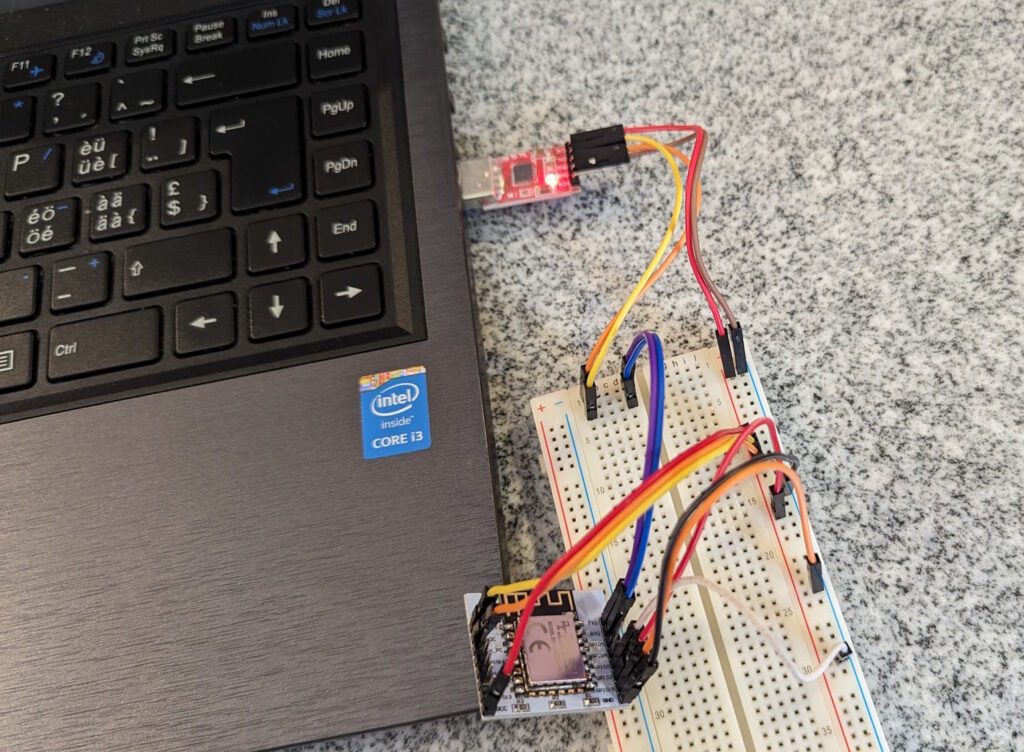
MikroKontroller Firmware flashen
Als MikroKontroller kënnt een ESp8266 ( z bsp D1 Mini oder ESP-12F) zum Asatz.
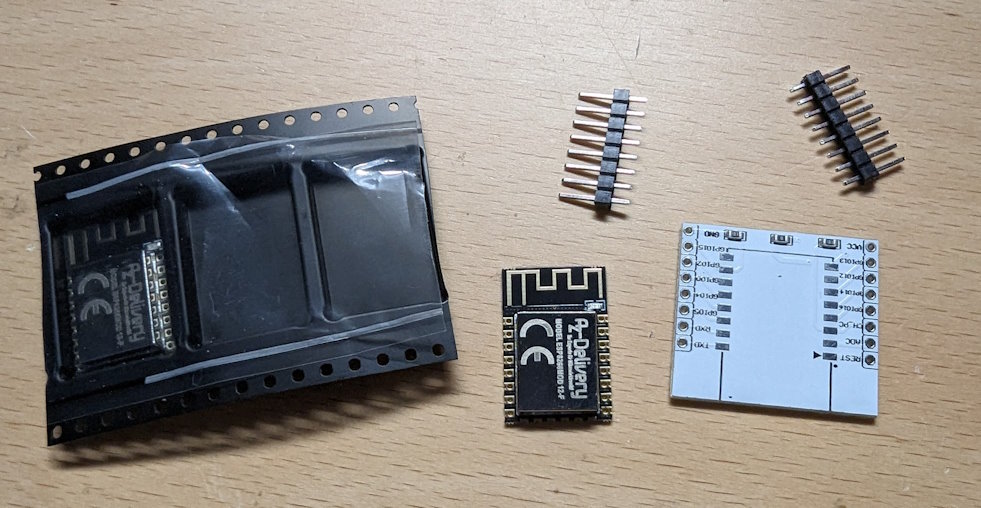
Op dësem Kontroller leeft duerno och den Webserver fir d’Astellungen vun der Lët’z Clock ze veränneren.
Je no Variante fällt Schréiwen vun der Firmware méi oder manner komplizéiert aus.